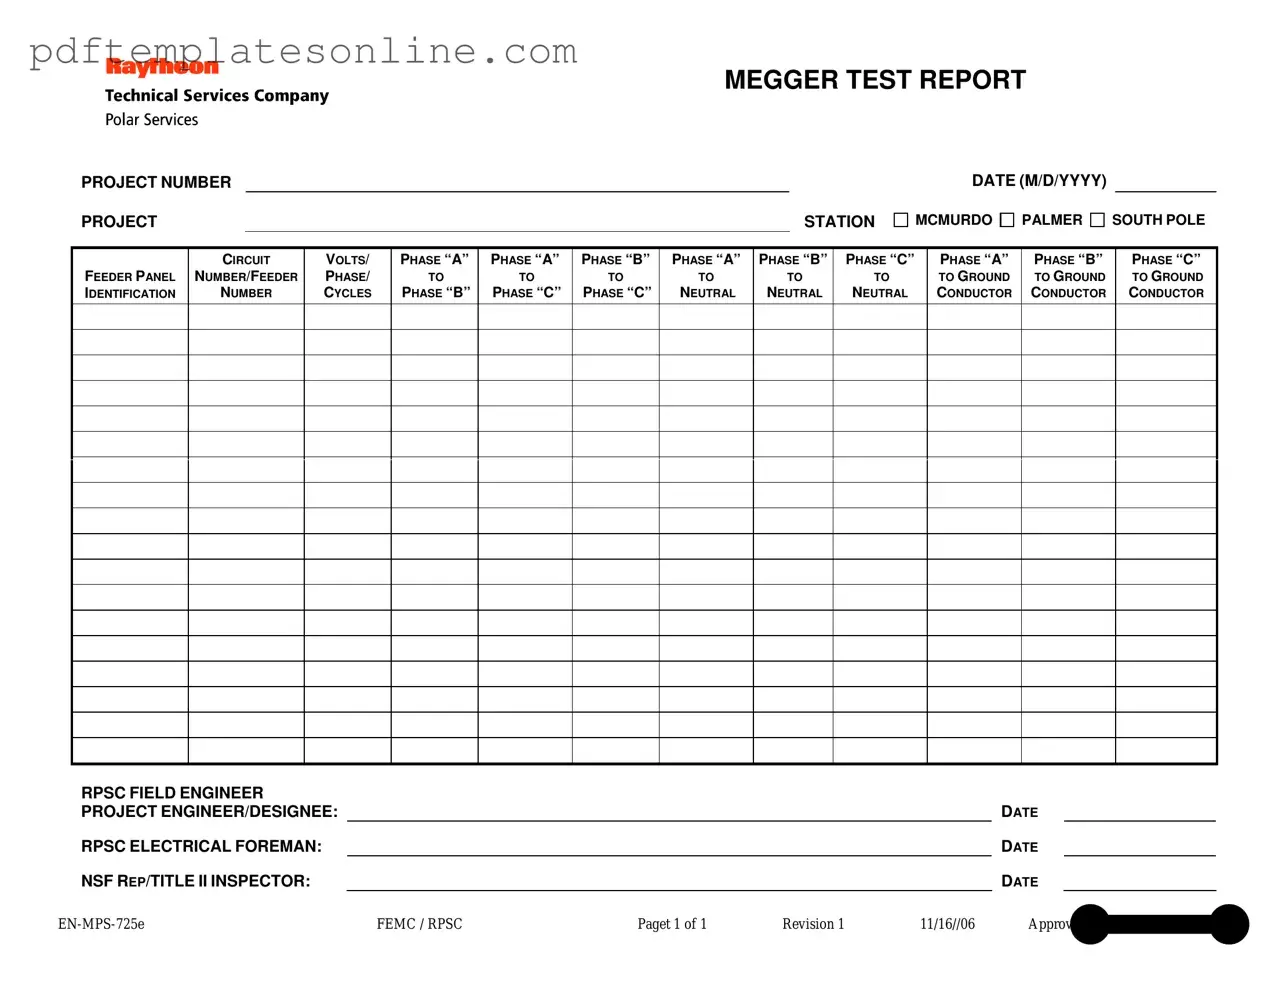
Blank Megger Test Form
Key takeaways
When filling out and using the Megger Test form, there are several important aspects to keep in mind. Here are key takeaways that can help ensure accuracy and compliance:
- Project Information: Always start by clearly entering the project number, project station, and date. This information provides context for the test results.
- Panel Identification: Specify the feeder panel identification. This helps in locating the correct panel during inspections or maintenance.
- Circuit Number: Make sure to include the circuit number or feeder number. This detail is crucial for tracking and referencing.
- Voltage Details: Record the voltage, phase, and cycles accurately. This data is essential for evaluating the electrical system's performance.
- Phase Testing: Conduct phase-to-phase and phase-to-neutral tests. Document results for each phase to ensure comprehensive analysis.
- Ground Testing: Include measurements for each phase to ground. This information is vital for assessing safety and compliance with electrical codes.
- Field Engineer Signature: The RPSC field engineer must sign the form. This signature verifies that the tests were conducted properly.
- Project Engineer/Designee: Ensure the project engineer or their designee also signs and dates the form. This adds another layer of accountability.
- Electrical Foreman Approval: The RPSC electrical foreman should review and sign the report. Their approval is important for project oversight.
- NSF Representative: If applicable, have the NSF representative or inspector sign the form. This step is crucial for compliance with regulatory standards.
By following these guidelines, you can ensure that the Megger Test form is filled out correctly and used effectively in your electrical assessments.
Common mistakes
Completing the Megger Test form accurately is crucial for ensuring reliable electrical testing results. However, there are several common mistakes that people often make when filling out this form. Being aware of these pitfalls can help avoid potential issues down the line.
One frequent error is neglecting to fill in the project number and project station. These fields are essential for identifying the specific test and its location. Without this information, it becomes challenging to track the test results or correlate them with the appropriate project documentation.
Another common mistake involves the date entry. Failing to write the date in the correct format (M/D/YYYY) can lead to confusion. This simple oversight may result in discrepancies when reviewing the test records later, making it difficult to establish a timeline of electrical testing.
People often overlook the importance of accurately identifying the feeder panel and circuit number. These identifiers are crucial for understanding which circuits were tested and for what purpose. Incorrect or missing information in these fields can lead to misinterpretation of the test results.
In the voltage and phase sections, it is common to see incomplete or inaccurate entries. Each phase should be tested and documented correctly. Omitting any phase or failing to record the voltage levels can result in an incomplete assessment of the electrical system’s integrity.
Additionally, individuals sometimes forget to include the RPSC field engineer and project engineer/designee signatures. These approvals are necessary for validating the test results. Without them, the report may lack credibility and could be questioned during audits or inspections.
Another mistake is failing to document the NSF representative/title and II inspector information. This step is vital for accountability and traceability. Missing this data can lead to complications if there are any disputes regarding the testing process or results.
Lastly, it is essential to double-check for any typographical errors throughout the form. Simple mistakes, such as transposed numbers or misspelled words, can cause significant misunderstandings. Taking a moment to review the form can save time and resources in the long run.
By being mindful of these common mistakes, individuals can ensure that the Megger Test form is completed accurately and effectively. Attention to detail is key in maintaining reliable electrical testing records.
Misconceptions
Understanding the Megger Test is crucial for ensuring electrical safety and reliability. However, several misconceptions exist about this important testing method. Here are nine common misunderstandings:
- The Megger Test is only for high-voltage systems. Many believe that Megger tests are exclusively for high-voltage applications. In reality, they are useful for a wide range of voltage levels, helping to identify insulation integrity regardless of the system's voltage.
- Megger tests can only be performed by professionals. While it is true that trained personnel should conduct these tests, anyone with proper instruction can perform them. Understanding the equipment and safety protocols is key.
- The results of a Megger Test are always accurate. Some assume that the results are infallible. However, environmental factors, equipment condition, and user error can affect the accuracy of the readings.
- A high resistance reading is always good. Many people think that a high resistance reading indicates perfect insulation. However, it is essential to consider the context. A reading that is too high may suggest a lack of continuity.
- The Megger Test is only for cables. Some think this test is limited to cables. In fact, it can also be applied to various electrical components, including motors and transformers, to assess their insulation quality.
- Once a Megger Test is passed, no further testing is needed. Passing a Megger Test does not mean that the insulation will remain intact indefinitely. Regular testing is necessary to monitor insulation health over time.
- The Megger Test can replace other types of testing. Some believe that the Megger Test is a one-stop solution for all electrical testing needs. While it is a valuable tool, it should be part of a comprehensive testing strategy that includes other methods.
- Megger Tests are time-consuming. There is a perception that these tests take a long time to complete. In reality, with proper training and equipment, they can be performed efficiently and quickly.
- All Megger Test results are easy to interpret. Many think that interpreting the results is straightforward. However, understanding the implications of the readings requires knowledge of electrical systems and conditions.
By clearing up these misconceptions, individuals and organizations can better appreciate the importance of the Megger Test in maintaining electrical safety and performance.
Dos and Don'ts
When filling out the Megger Test form, attention to detail is crucial. Here are some guidelines to help ensure accuracy and clarity.
- Do enter the project number clearly at the top of the form.
- Do specify the project station accurately to avoid confusion.
- Do use the correct date format (M/D/YYYY) to maintain consistency.
- Do ensure all voltage and phase information is recorded accurately.
- Don't leave any sections blank; fill in all required fields.
- Don't use abbreviations that may not be understood by others.
- Don't forget to sign and date the form where required.
- Don't submit the form without reviewing it for errors.
Other PDF Forms
Apply for License - The quality of the scanned image directly impacts the accuracy of data extraction.
In adopting a California Medical Power of Attorney form, individuals can ensure their healthcare preferences are honored, even when they cannot communicate them. This process becomes clearer with resources like California PDF Forms, which guide users through the necessary steps to create a legally binding document that safeguards their health decisions.
Statement of Facts California Dmv - Completing the DL 44 accurately is vital for those planning to drive legally in California.
Soccer Tryout Evaluation Form - Determine how well the player maneuvers the ball around opponents with finesse.
Detailed Guide for Writing Megger Test
Completing the Megger Test form is essential for documenting the results of electrical testing at various project stations. This ensures that all necessary data is accurately recorded for future reference. Below are the steps to fill out the form correctly.
- Locate the form and ensure it is the correct version for your project.
- Fill in the PROJECT NUMBER at the top of the form.
- Identify the PROJECT STATION and write it down. Options include MCMURDO, PALMER, or SOUTH POLE.
- Enter the DATE in the format M/D/YYYY.
- Provide the FEEDER PANEL IDENTIFICATION as required.
- Record the CIRCUIT NUMBER/FEEDER NUMBER.
- Specify the VOLTS/PHASE/CYCLES relevant to the testing.
- For each phase, fill in the voltage readings as follows:
- PHASE “A” TO PHASE “B”
- PHASE “A” TO PHASE “C”
- PHASE “B” TO PHASE “C”
- PHASE “A” TO NEUTRAL
- PHASE “B” TO NEUTRAL
- PHASE “C” TO NEUTRAL
- PHASE “A” TO GROUND
- PHASE “B” TO GROUND
- PHASE “C” TO GROUND
- Fill in the RPSC FIELD ENGINEER name.
- Provide the name of the PROJECT ENGINEER/DESIGNEE and the date.
- Enter the name of the RPSC ELECTRICAL FOREMAN and the date.
- Lastly, include the name and title of the NSF REP/TITLE II INSPECTOR along with the date.
After completing these steps, review the form for any missing information or errors before submitting it. This ensures that the data is reliable and can be used for future evaluations and compliance checks.